Ramen noodles are relatively complicated to make. It requires multiple times of resting to give as little stress to the pastry as possible. The hydration ratio can fluctuate depending on the characteristics of the flour.
And the list goes on, but don’t worry, here is a step-by-step guide to cut the clutter!
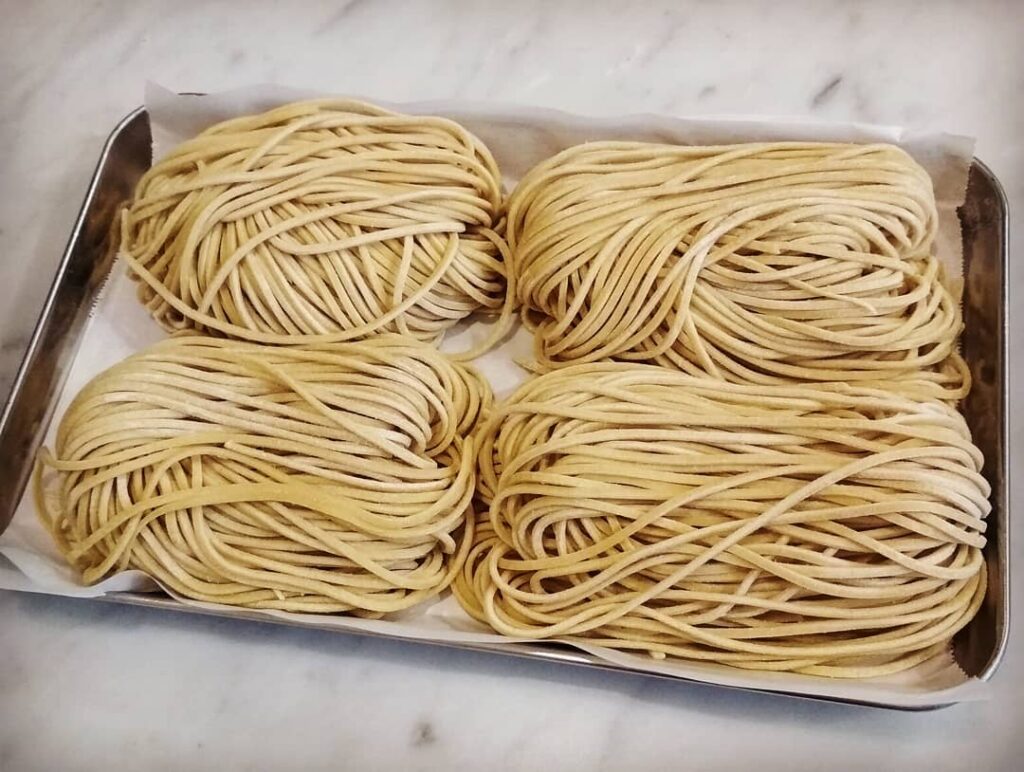
I make ramen noodles regularly, and this is my latest version of it.
Baking soda is used to replace kansui because it’s easier to find and has almost the same effect and flavour.
The colour of the noodles in the photo comes from the flour AGROBIO Quebec which all-natural and organic.
Enjoy the perfect weekend project to impress your family and friends!
Check out my favourite recipe, if you are into plant-based spicy deliciousness.
| Step | Action | Duration |
| 1 | Make alkaline water | 30 minutes |
| 2 | Weigh and sift flour | 5 minutes |
| 3 | Combine alkaline water and flour | 5 minutes |
| 4 | Rest at room temperature | 2 hours |
| 5 | Knead crumbs | 3 minutes |
| 6 | Rest at room temperature | 2 hours |
| 7 | Portion dough | 5 minutes |
| 8 | Roll out dough into sheets | 30 minutes |
| 9 | Rest at room temperature | 30 minutes |
| 10 | Cut sheets into noodles | 10 minutes |
| 11 | Age in fridge | 12 hours |
| 12 | Your noodles are ready to be cooked! | |
| Total 6 hours (+12 hours) |
#11 is optional but, it is best not skipped because it does make a difference in texture. It releases the excessive humidity and the stress of the gluten by resting the noodles. It also shortens the cooking time and reduces the amount of flour that dissolves into the water while cooking.
You will need:
420g all-purpose flour (preferably, unbleached local organic)
180g spring water
4g food-grade baking soda
2g sea salt
*makes four portions
Note: Always use a spoon when you are handling baking soda. Direct contact on your skin may irritate and can be harmful. Both powder and the liquid solution may react against marble tablewares and cause a change of colour and texture.
Step 1
Make alkaline water

Bring 200 grams of water to boil, turn off the heat and set aside.
Pour 180 grams of hot water into the measuring cup and stir until the baking soda dissolves.
Let it cool at room temperature for 30 minutes.
You can make the alkaline water one day in advance. Store in the fridge once the liquid is cool.
Step 2
Weigh and sift flour
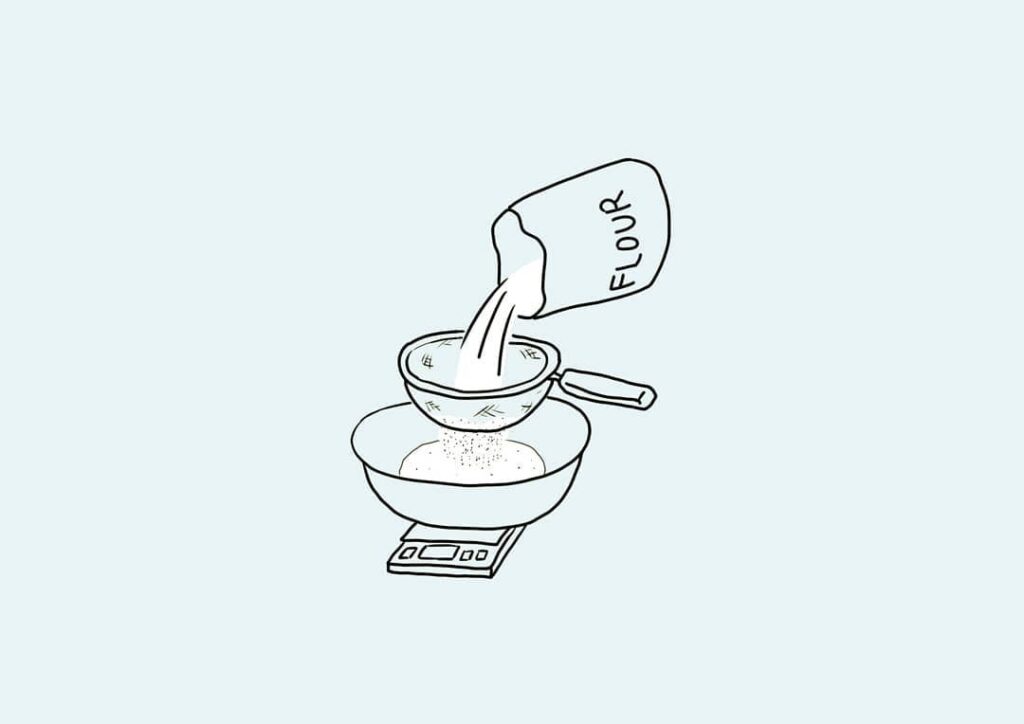
Have 420 grams of all-purpose flour passed through a fine sieve and spread out flat in a large mixing bowl.
This step is crucial to break down the lumps and aerate the flour.
It also helps to even out the humidity content resulting in better consistency.
Step 3
Gradually add the alkaline water to the flour

Once the liquid mixture is cooled, it is ready to be mixed into the flour.
First, transfer the alkaline water into a squeeze bottle.
Then, pour about a third of the water in a thin stream into the flour.
Use your hands to evenly distribute the solution by gently mixing and rotating for about a minute.
Repeat the process two more times until all the alkaline water is folded into the dough to form crumbles.
Gently gather the crumbs together.
Do not spend more than 5 minutes in this step to avoid giving too much stress to the crumbs.
Step 4
Rest the crumbs at room temperature

Transfer the crumbs into a 12 lb food-safe plastic bag loosely sealed and let it rest at room temperature for two hours.
It is an important step to let the crumbs evenly absorb the alkaline water and push out the air naturally.
Step 5
Knead the crumbs
It is one of the trickiest steps when making ramen noodles.
After resting the crumbs, place them at the center of the bag.
Place the bag with the crumbs in a paper bag, large enough to cover the entire plastic bag.
Flatten the crumbs by stepping on it for about 30 seconds to form the pastry.
Take the plastic bag with the pastry out of the paper bag and place it on a flat counter surface.
Fold the pastry into three and place it back at the center of the plastic bag.

Repeat this step two more times to finally form a slab.
When kneading the pastry, try to keep it rectangular to make it easier to work with later.
It is crucial not to knead for more than 3 minutes to avoid giving too much stress to the pastry. Less is more!
Step 6
Rest the pastry in the fridge
Time to rest again.
Once you have finished kneading the pastry, let it rest at room temperature for 2 hours.
This resting time is again needed for the pastry to release the stress of the gluten network.
You’ll notice it is very springy and resistant right after kneading. After hours, the pastry will be less resistant and will be ready to be rolled out into sheets.
Step 7
Portioning the pastry

Place the pastry on a flat surface and cut it into four equal squares.
They should weigh around 140 grams each.
Put them back into the bag to prevent them from drying.
Step 8
Roll out the pastry into sheets

Take a portion of the pastry from the bag and place it on a flat surface.
Use a pastry pin to roll it out to form a rectangular sheet with a thickness of approximately 5 millimetres.
To roll, start at the center of the sheet, pushing it towards the corner as if you were extending it to make a star shape.
Do the same for all four corners.
Roll out the sheet running back and forth to make it even, then put it back in the bag.
Do the same for the rest of the sheets.
Set up a pasta maker to the widest setting.
On my Imperia pasta maker, the thickness setting goes from 6 to 1, from thick to thin.
Feed the sheet through the rollers at setting 6. Then, reduce the thickness by one level. Repeat until the length of the sheet is about three times the width of it.
Fold it into three, pushing out the air as much as possible.
Pass through the rollers again at setting 6, but this time starting from the open edge.
Repeat the same process until the sheet gets folded into three for the second time.
Continue rolling it out until you achieve the thickness of 0.6 millimetres (Level 2 on the Imperia pasta maker).
Transfer the sheet onto a tray and dust with flour on both sides.
Do the same for the rest of the sheets, covering the tray each time.
It is essential to keep the sheets covered to prevent the edges from drying.
Step 9
Rest at room temperature
Use a plastic bag or wrap the whole tray and rest at room temperature for 30 minutes.
Step 10
Cut sheets into noodles
The most fun part of making the noodles. Set up the cutter attachment on your pasta maker.
Start running the sheet through the cutter. (the narrower side)
Halfway through the process, gently hold the noodles leaving the two end strips hanging from the cutter.
Pass the rest of the sheet and lightly dust with flour to prevent the noodles from sticking.
Gently shake off the excess flour, swirl it to form a nest and place it on a small tray lined with parchment paper.
Step 11
Age in the fridge
Cover the noodles with a piece of paper towel to keep them away from condensation.
Place the tray with noodles in a plastic bag leaving it open.
Store it in the vegetable section for 12 hours, and your noodles are ready to be cooked!
For further fun, try adding your favourite ingredients such as cocoa powder, chilli flakes or herbs. Adjust the water-to-flour ratio to find the texture to your liking.
Anything that works for you is your best recipe.
Other categories: